Merging Table Cells

  • You may want to Merge Table Cells or combine Table Cells to make a single Cell, when you want to have a title span several columns, or a heading the height of several rows. Other times you may want to Split Merged Table Cells into two or more cells. You can only use the Split Merged Table Cells tool only after the Merged Table Cells tool has been used.

    Review the steps below to learn how to use the Merge Table Cells tool and the Split Merged Table Cells tool in the Text Editor.
  • To create a table with merged cells:

    1. To insert a Table, navigate to the page you are working on.
    2. Click Edit this Page.
    3. Click Add Item.
    4. Select Text from the drop down list and click Add.
    5. Click Insert a New Table.
    6. For this example, choose 7 columns and 4 rows.
    7. In the first column, type in Member Name, highlight the text and make it Bold, Arial, size 14 font.
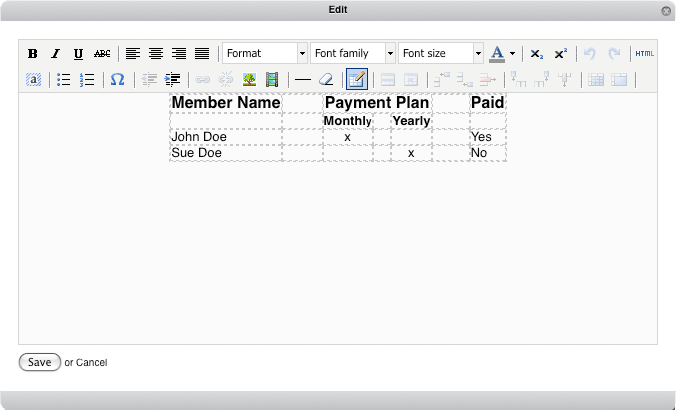
    8. Here, you can highlight the first cell in the first row and the first cell in the second row and click Merge Table Cells, as shown in the first example.
    9. In the second column add desired spacing with space bar.
    10. Highlight the third, fourth, and fifth columns in the first row and click Merge Table Cells button.
    11. In the Merged Table Cells, type in Payment Plan and style this the same as Member Name.
    12. In the sixth column add desired spacing (should match the spacing of the second column).
    13. In the seventh column, type in Paid and style the same as Member Name.
    14. Below Payment Plan, type in Monthly. Highlight text and make it Bold, Arial, font size 12. Add space in the column between Monthly and Yearly (this space should be less that of the second and sixth columns). Repeat steps to style Yearly.
    15. Now, you can fill out the information as desired below.
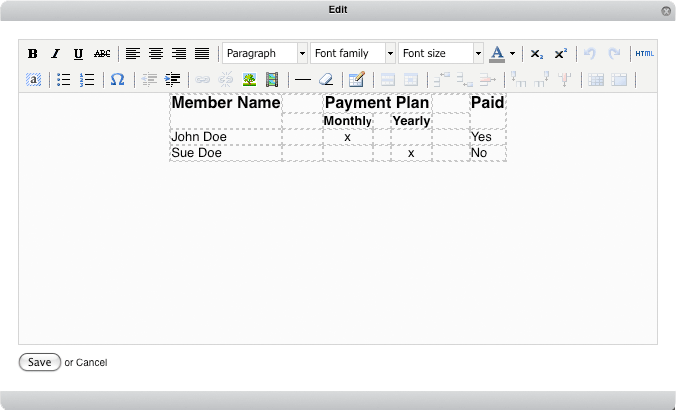
    16. To Split the Merged Cells, highlight the cells that have been merged and click the Split Merged Cells. You can highlight the Member Name cell that had been previously merged and click the Split Merged Cells button to split them.
      Both examples below achieve the same look, it is a matter of preference for the creator of the table.
  • Examples


    Example 1   Example 2
     
  • Finished Table


    Member Name


    Payment Plan


    Paid

                    
    Monthly       
    Yearly              
     
    John Doe   x       Yes
    Sue Doe       x   No
  •